How to Get Salon-Perfect Curls at Home Every Single Wash Day
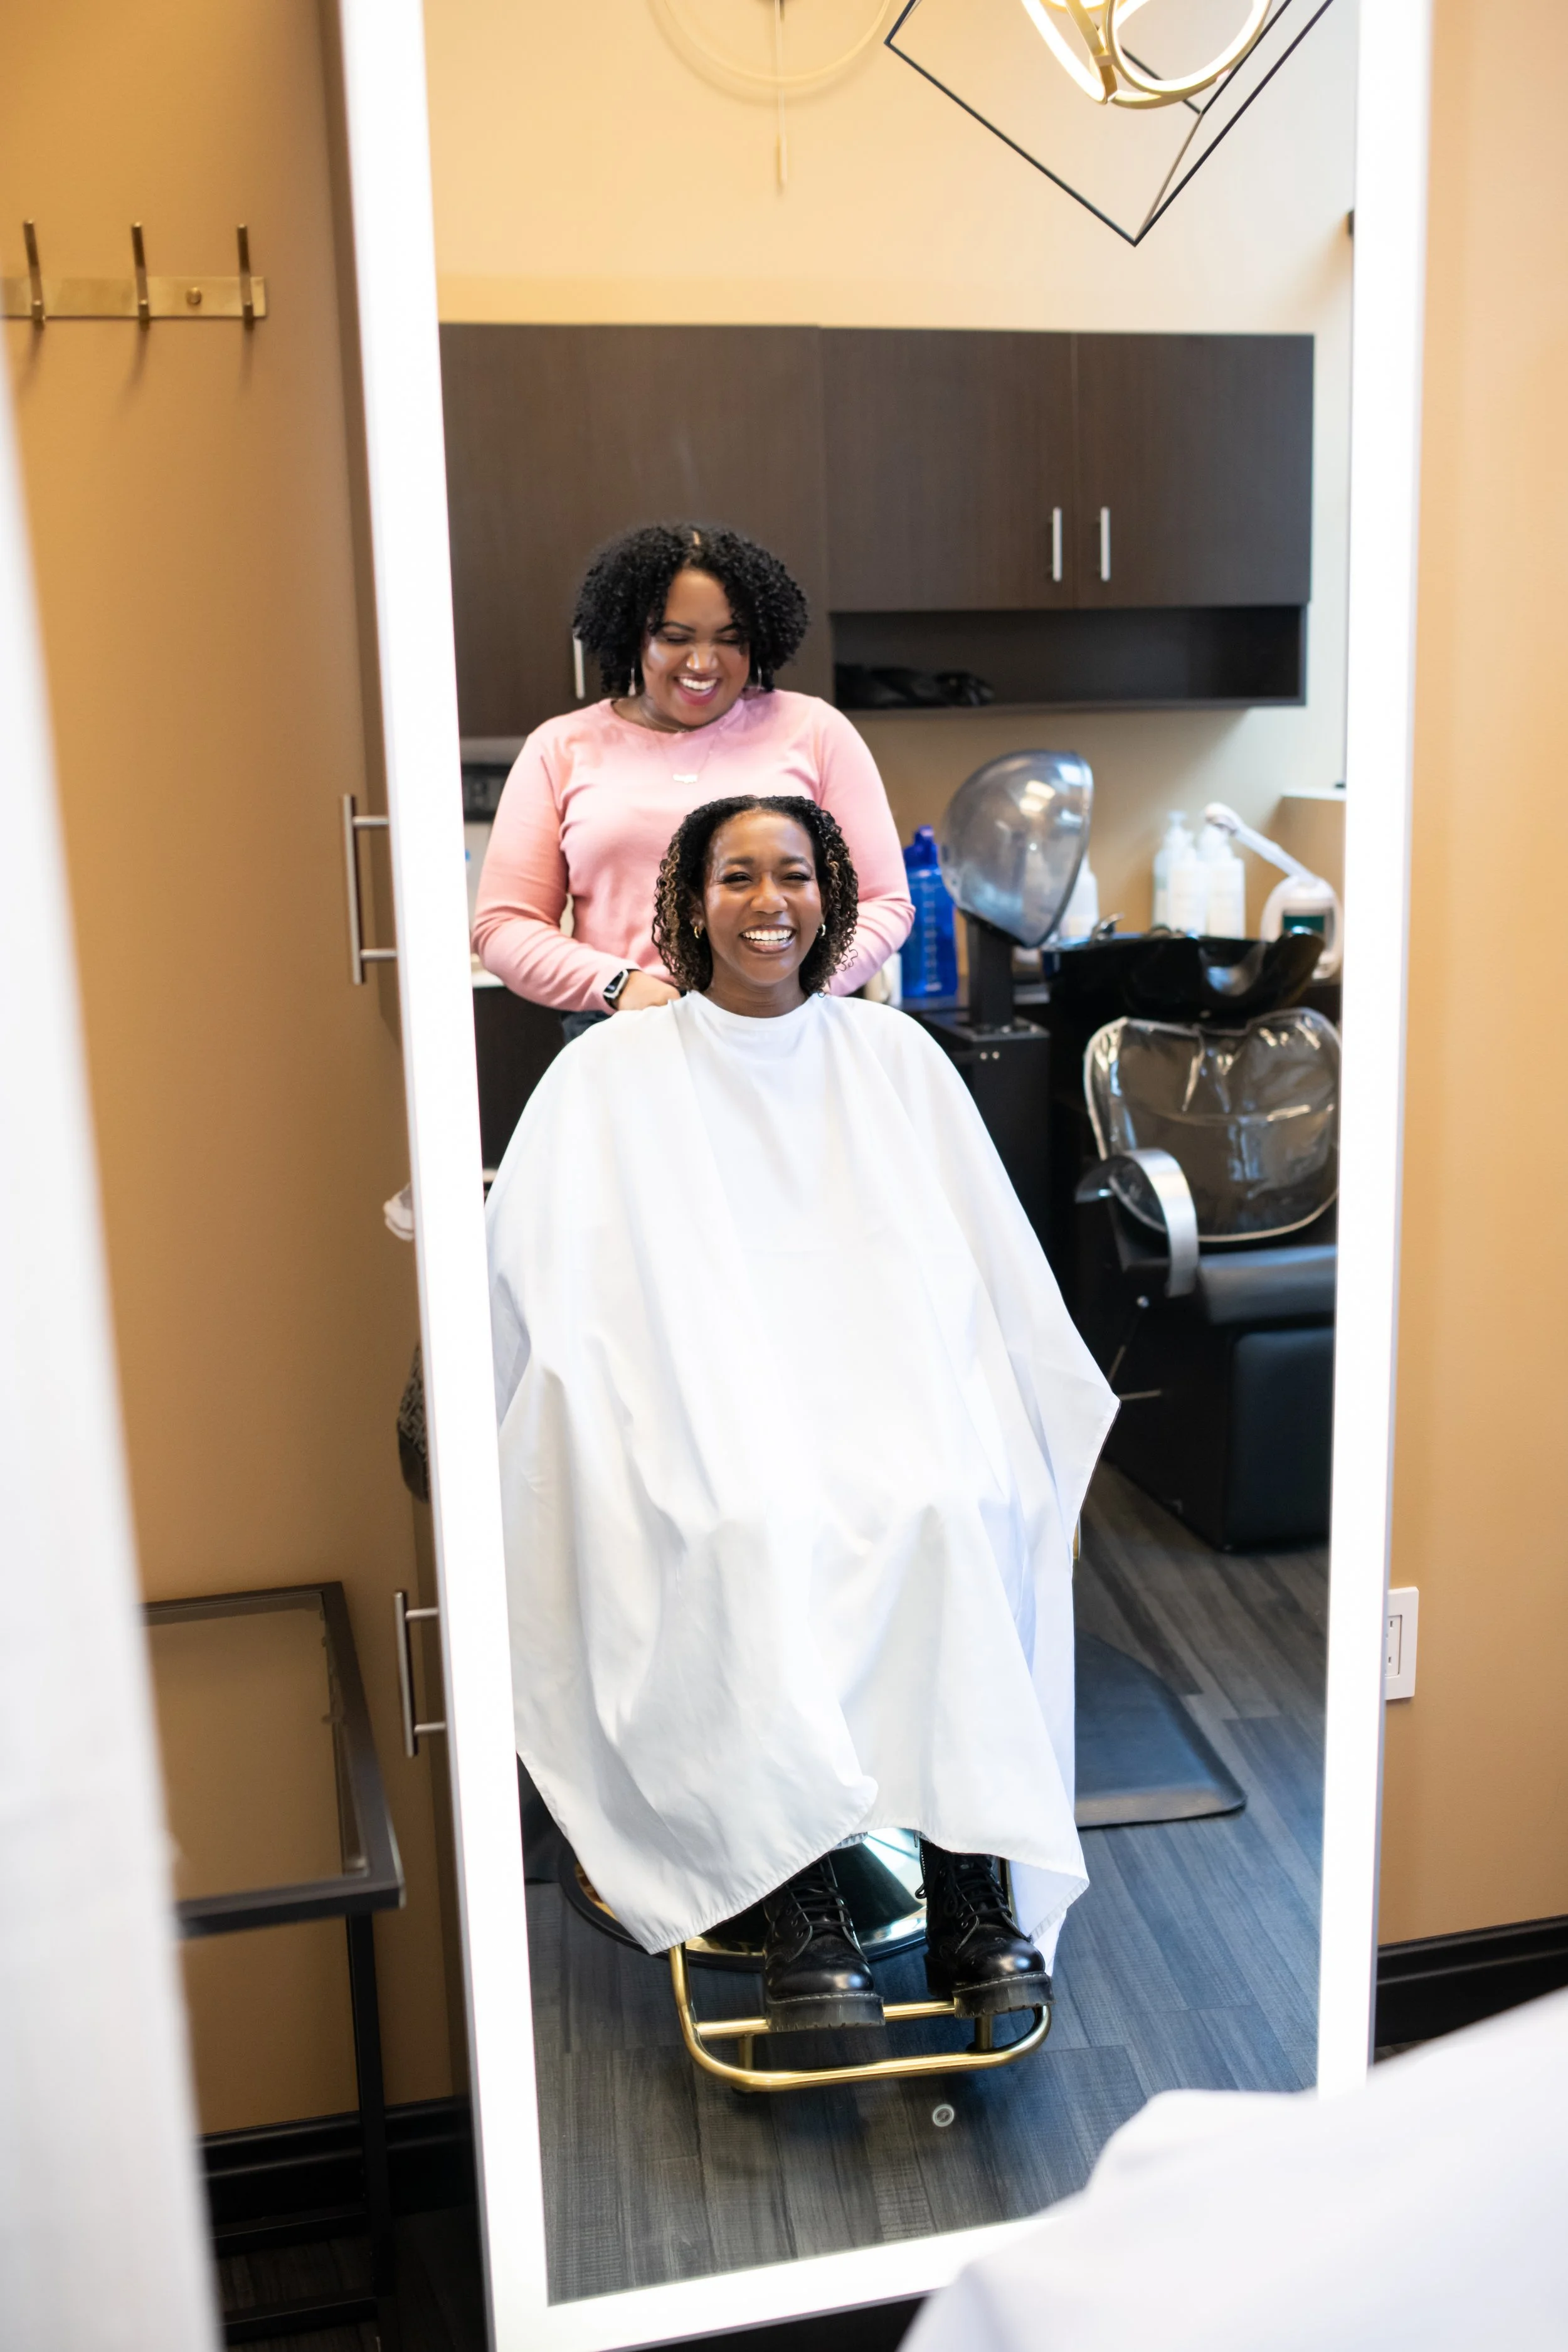
If you've ever said "my curls can never look like this at home" or joked that you wish I could just come over and do your hair every day, keep reading.
I hear those two phrases more than almost anything else in the chair. And the good news? The gap between your salon results and your at-home results usually comes down to three fixable things: how much product you're using, how you're sectioning, and how you're diffusing.
Let's break it all down.
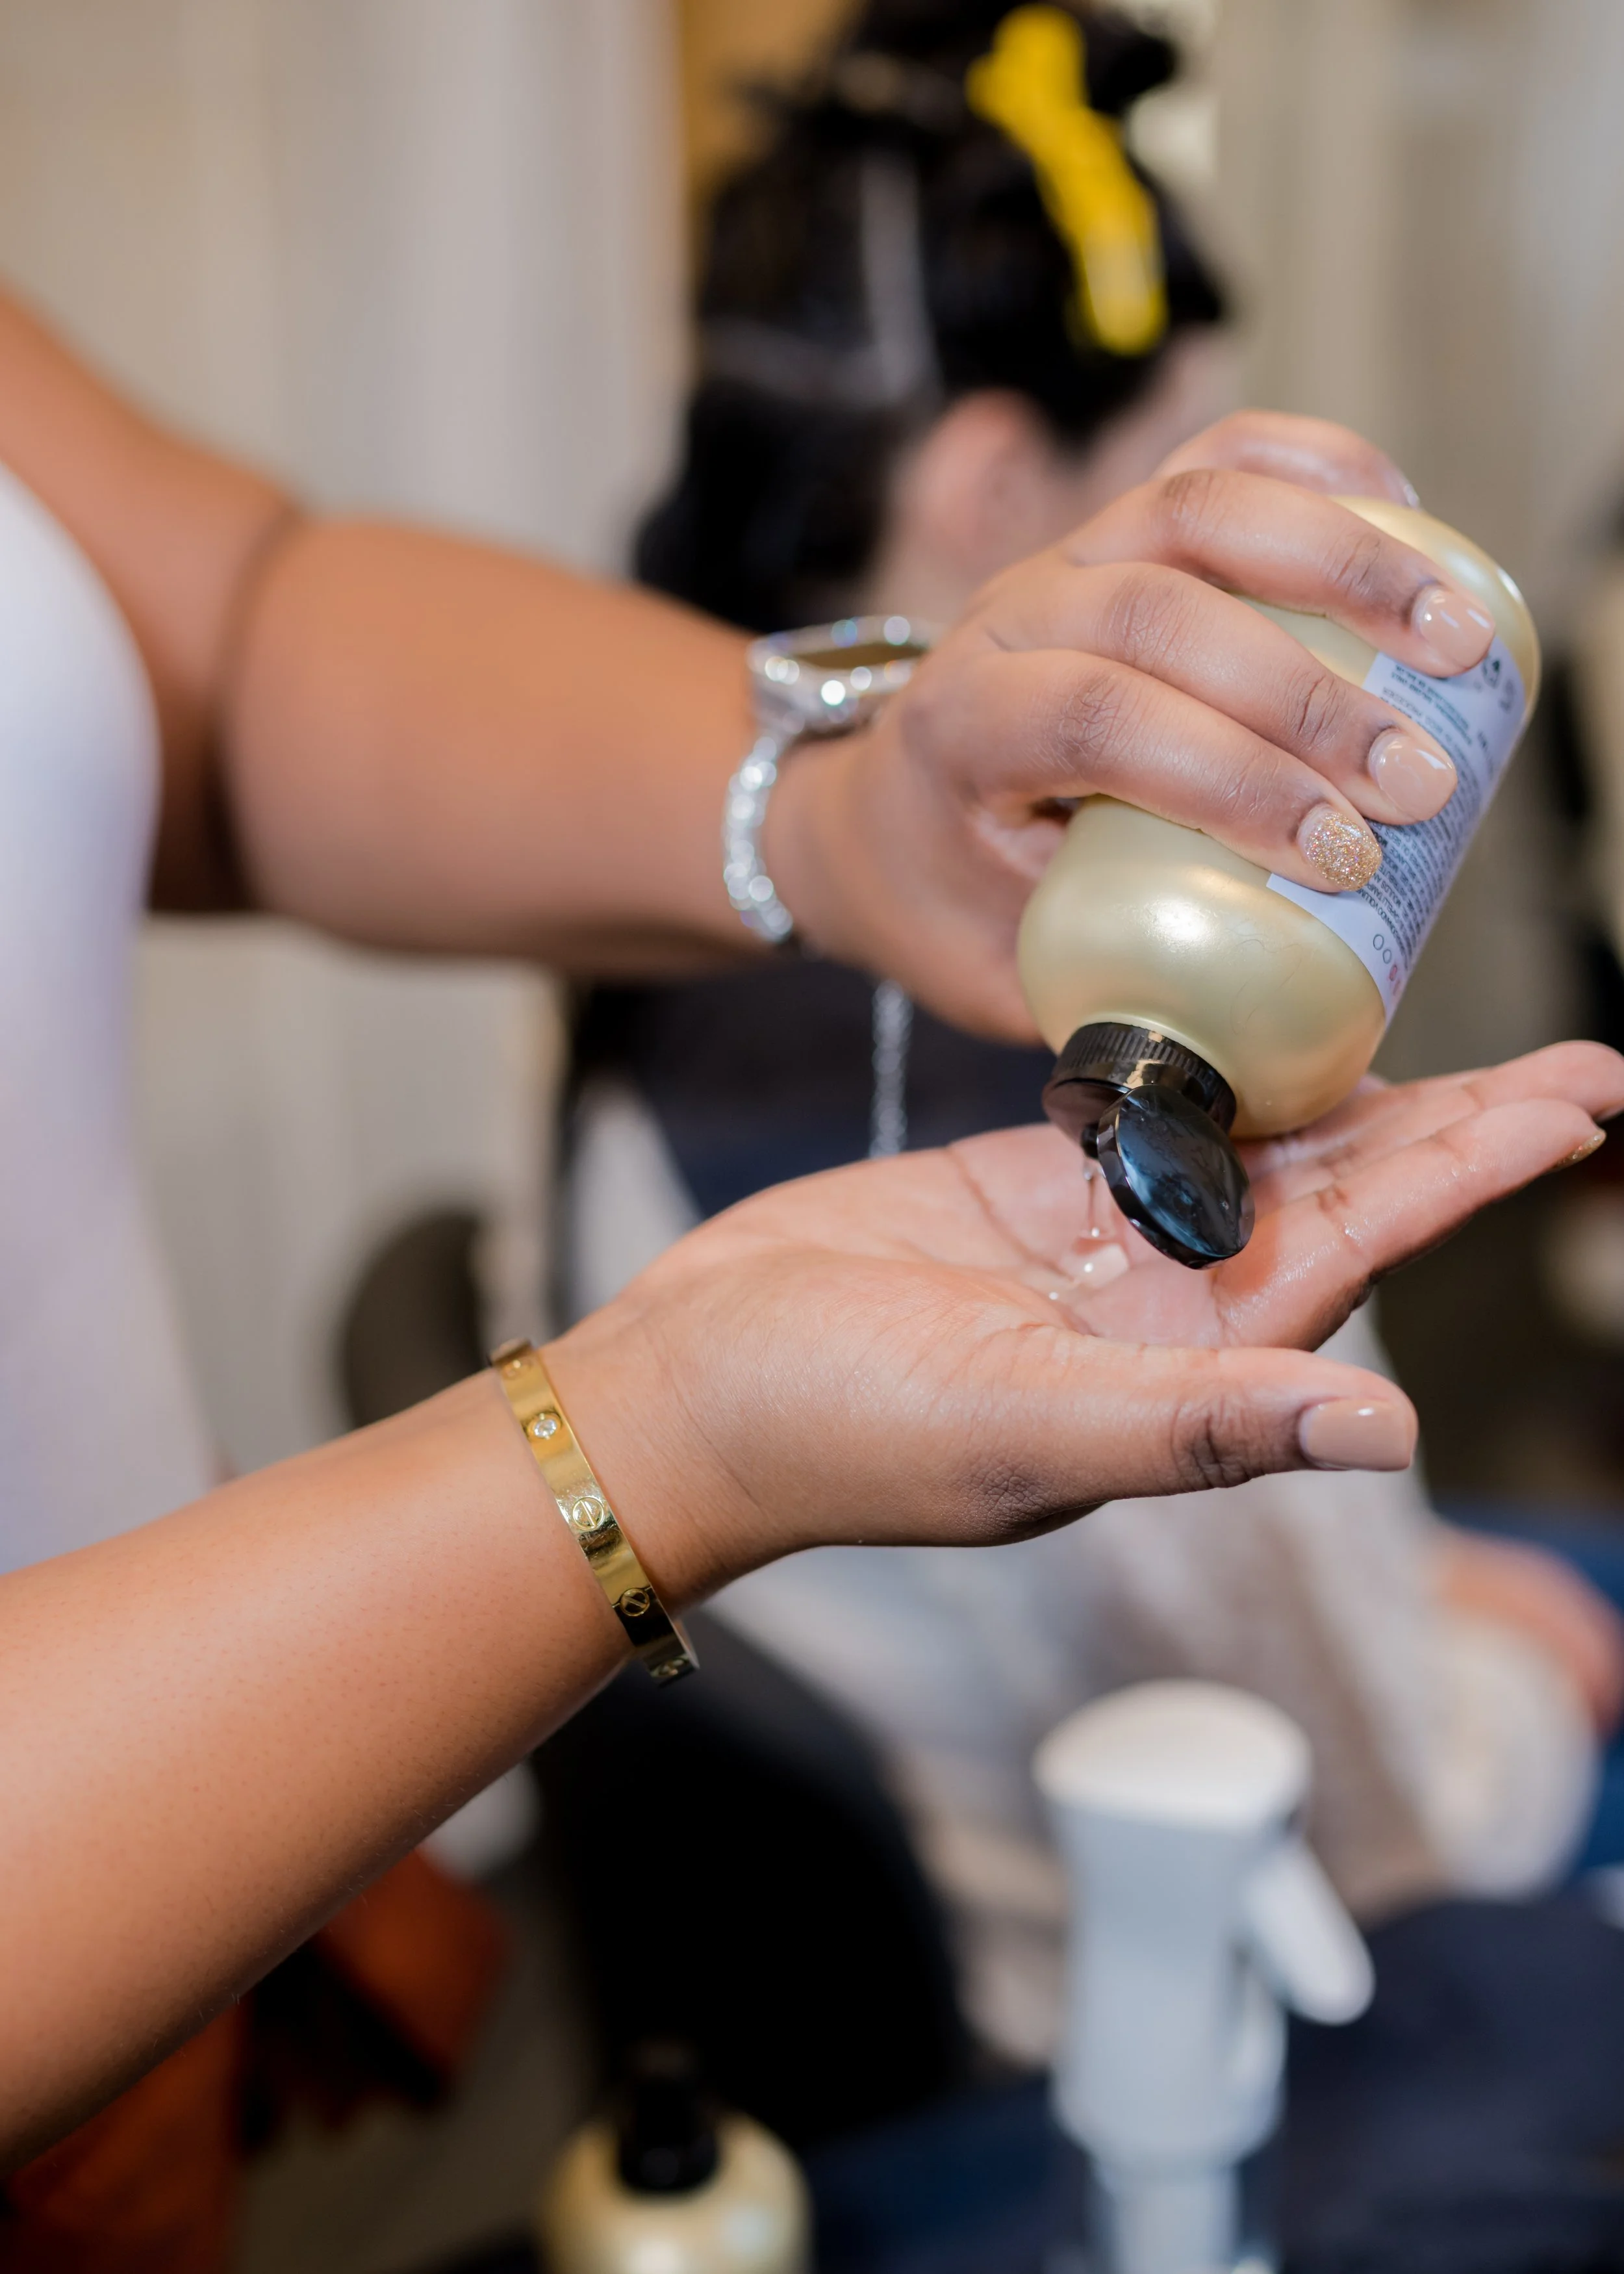
You're Probably Using Too Little Product
This is the number one thing I uncover when we talk through your at-home routine. Most of the time, clients are using a small amount of product for their entire head of hair.
Depending on the product, a little can go a long way, but for most curl types, being generous is the rule, not the exception.
Here's why it matters:
Your curls need product to help lock moisture in
Skimping on product means your curls dry without the support they need to hold their shape
"A little dab" often isn't enough to coat and define every curl from root to end
If your curls feel dry, undefined, or fall flat by midday, product quantity is one of the first places to look.
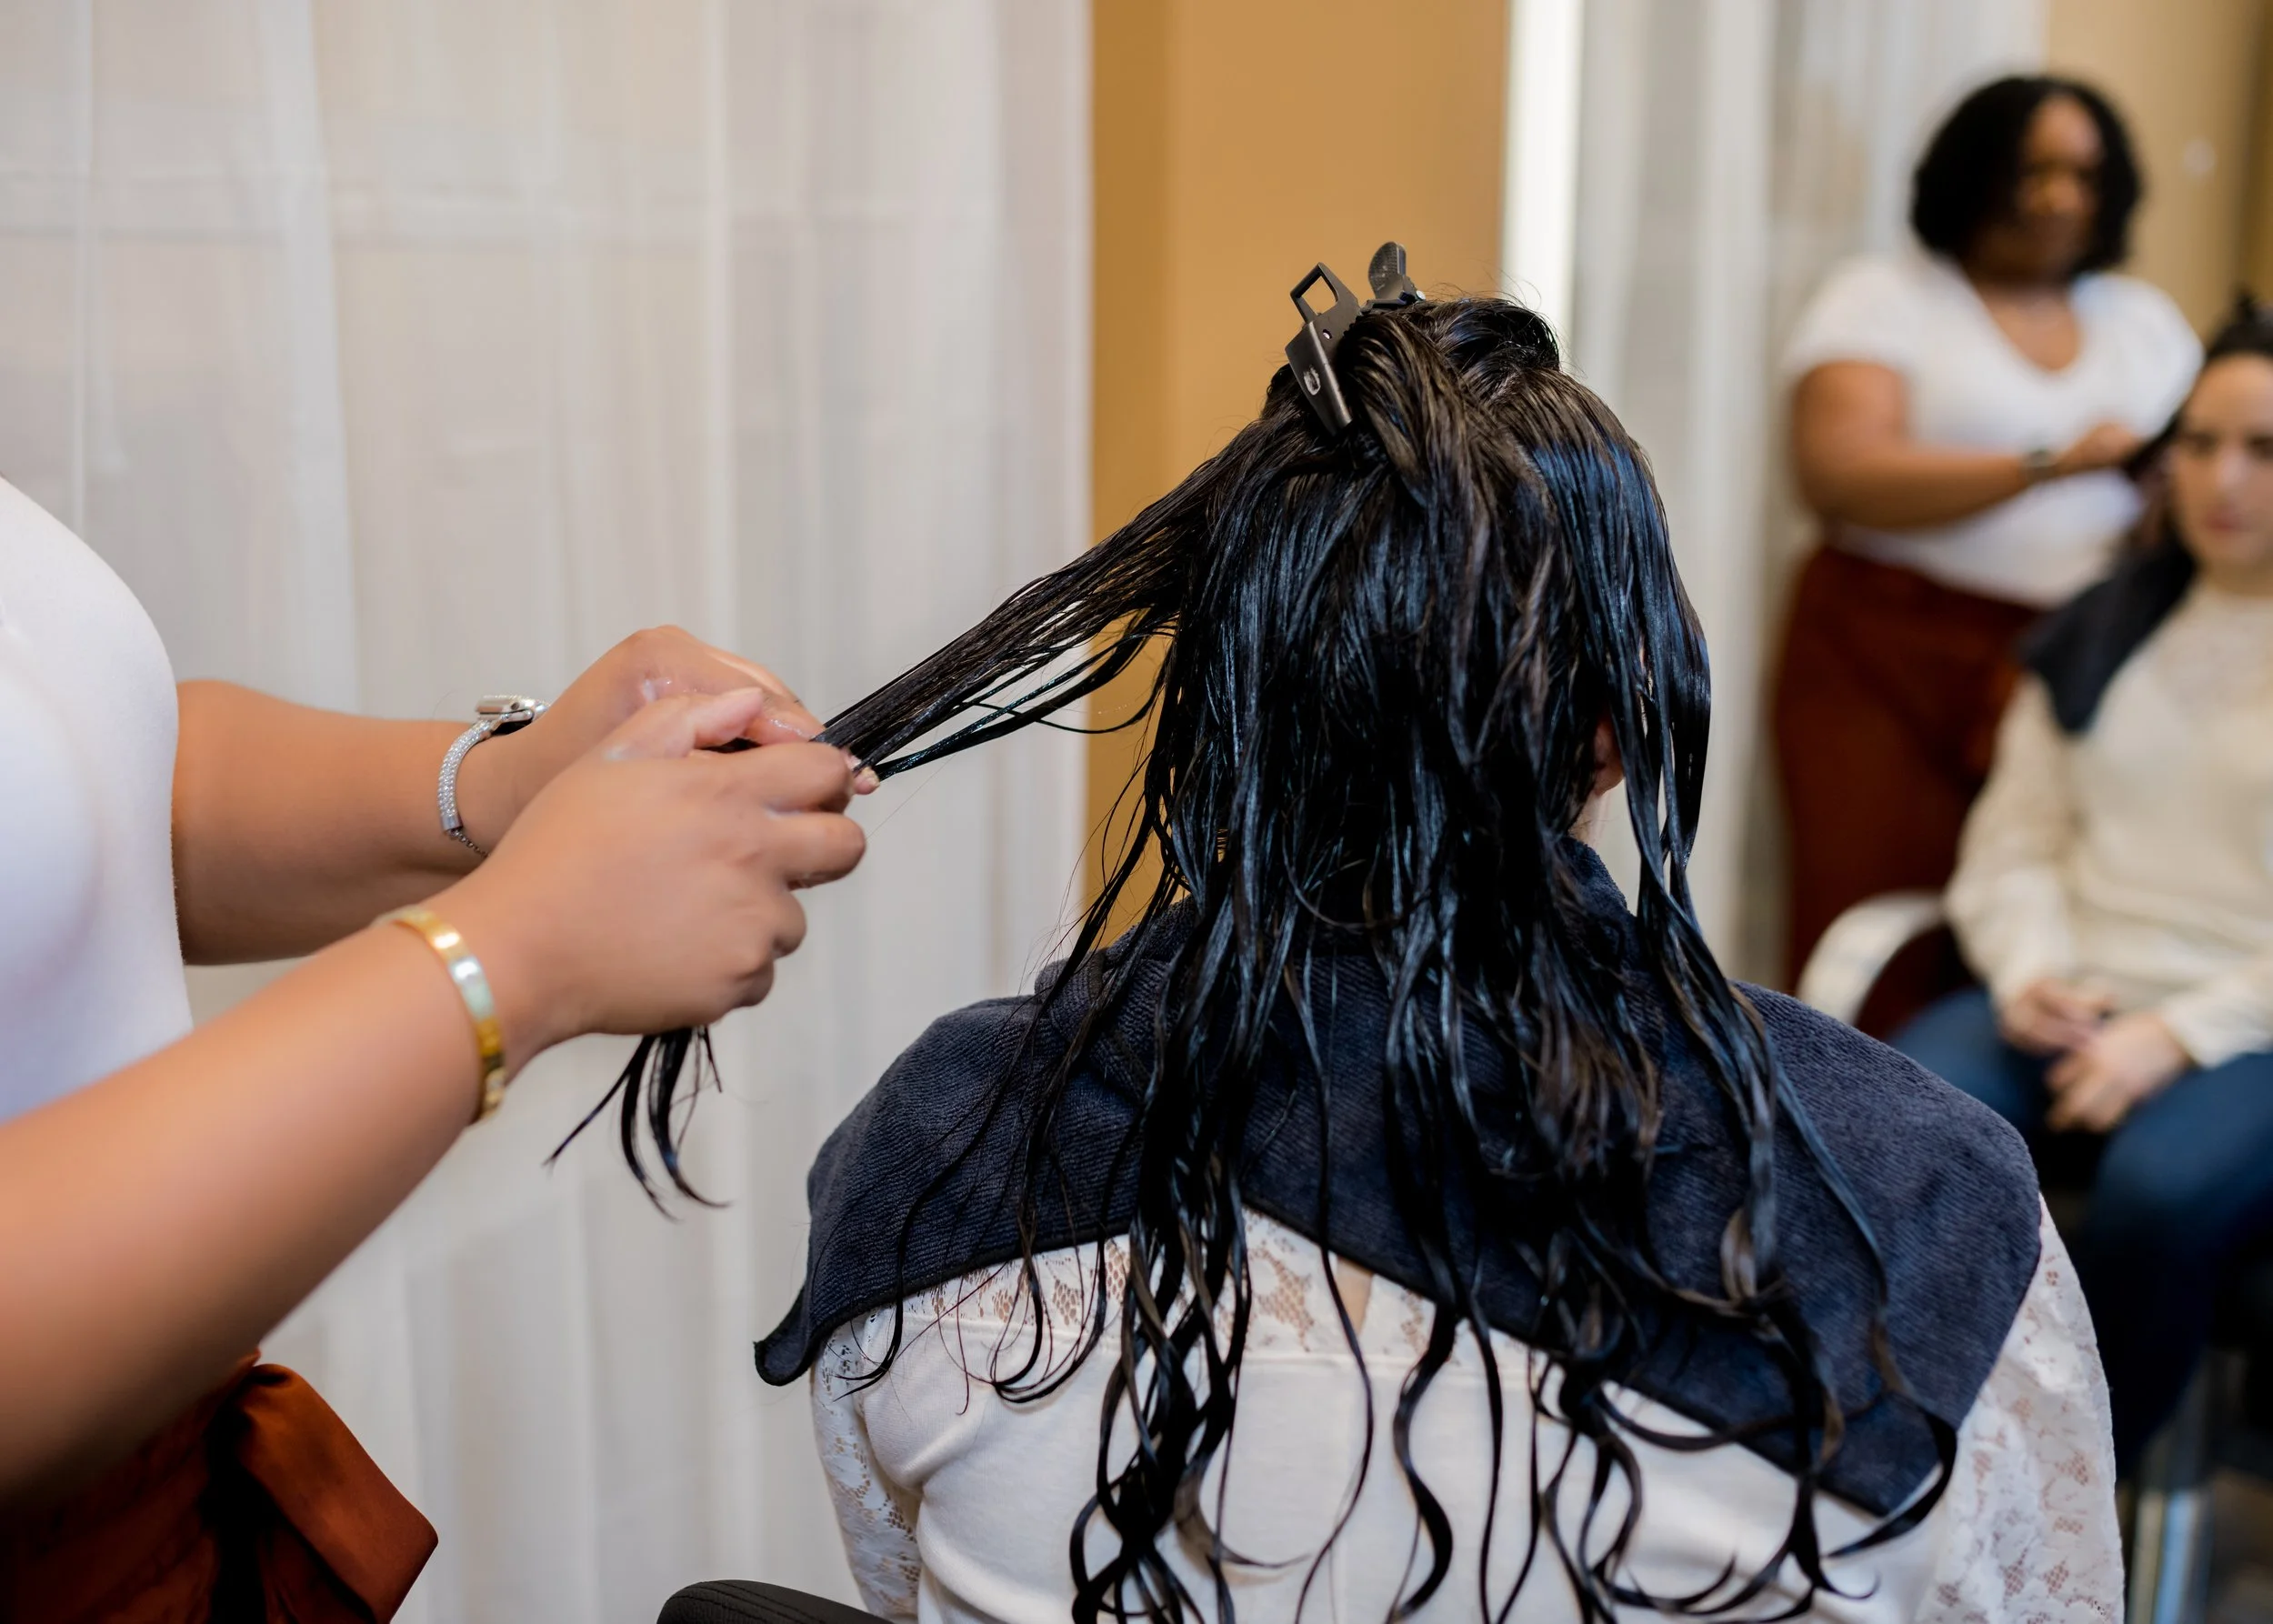
Sectioning Isn't Optional
I know sectioning can feel like an extra step you don't have time for. But there's no way around it, sectioning is what allows product to be evenly distributed throughout your hair.
Without it, some curls get plenty of product and others get almost none. That's often why you'll see shape and definition in some areas and frizz or limpness in others.
How many sections you need depends on:
How much hair you have
How tight your curl pattern is
How long your hair is
If you're early in your curl journey, use clips to formally section your hair. It keeps things organized and makes the process far less overwhelming. Once you get the hang of it, sectioning becomes second nature — like breathing.
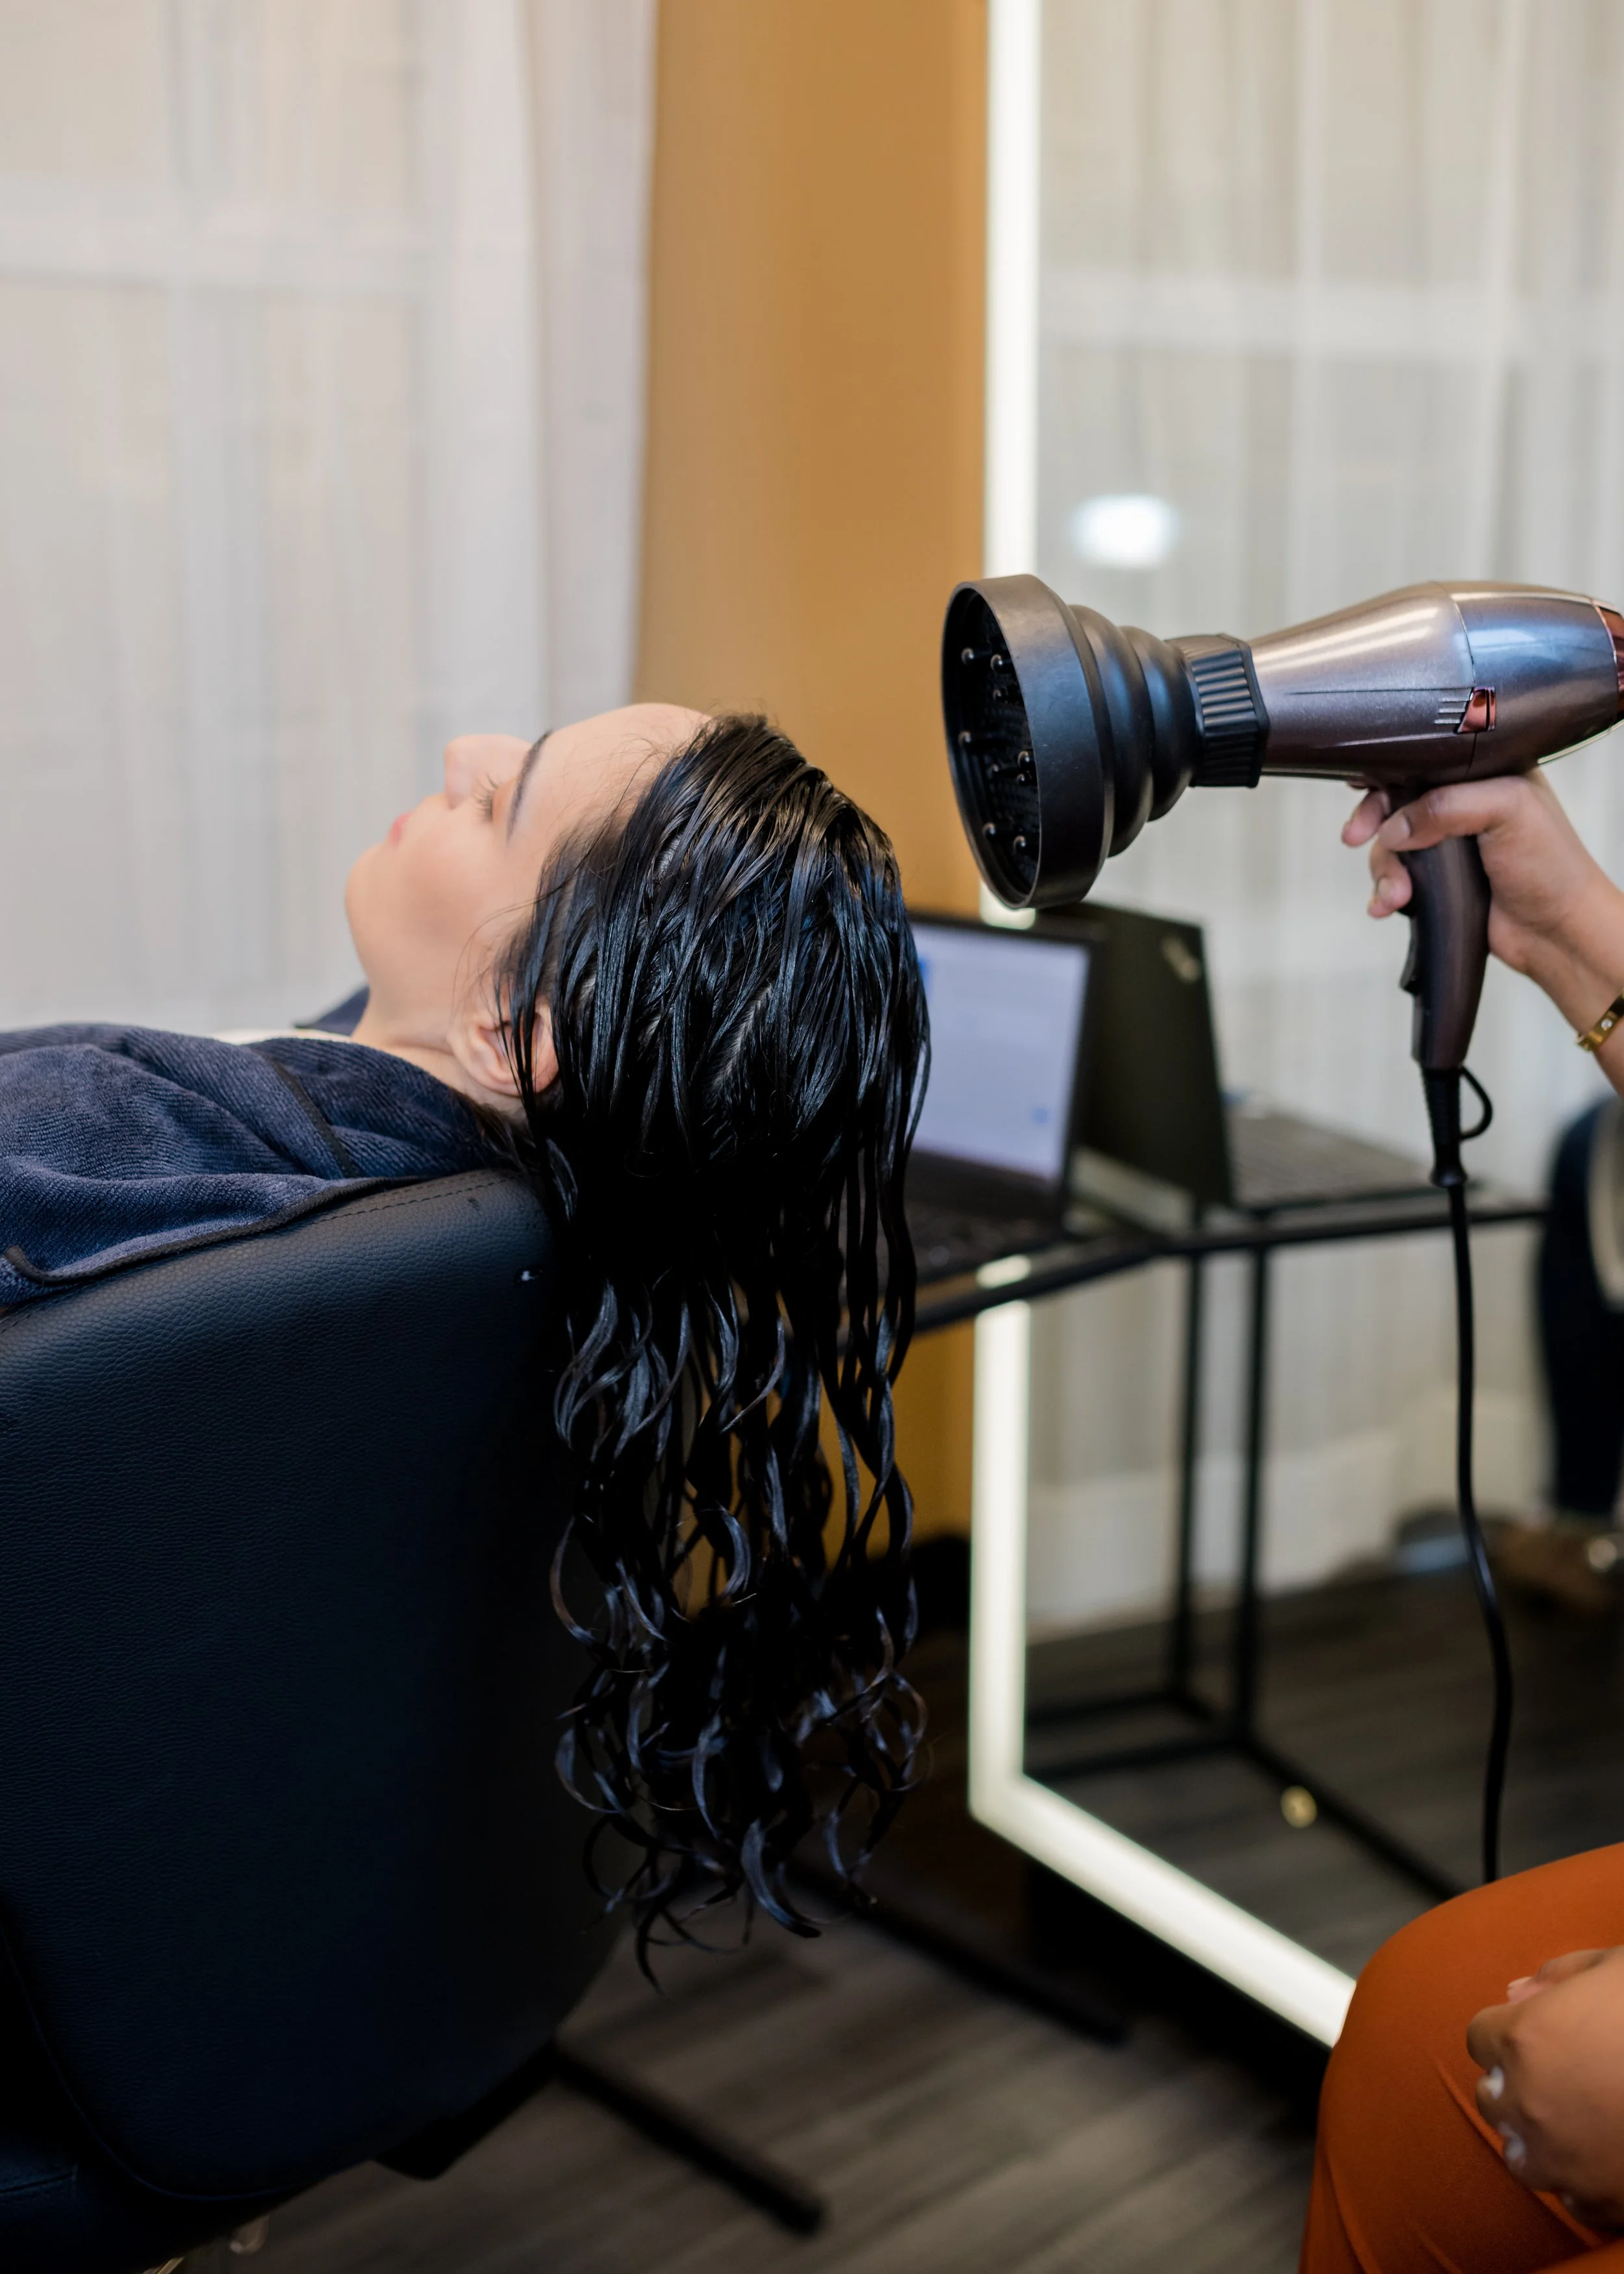
Making Diffusing Actually Bearable
Diffusing gets more complaints in my chair than almost anything else. It takes too long. It hurts my back. It creates a frizzy mess. I hear you, and all of that is valid.
Let's make it easier and faster.
Speed up your drying time: Start with high heat and higher speed. This alone can cut your diffusing time down significantly.
Get comfortable: Sit down while you diffuse. You don't need to bend over the entire time, so find a comfy seat and settle in.
Reduce frizz with hover diffusing: Frizz while diffusing is a skill issue, not a hair issue. Like any skill, it improves with practice. Start by hover diffusing (no touching your hair with the dryer or your hands) for just a few minutes to jump-start the air-drying process. Gradually increase that hover time with each time you diffuse as you get more comfortable.
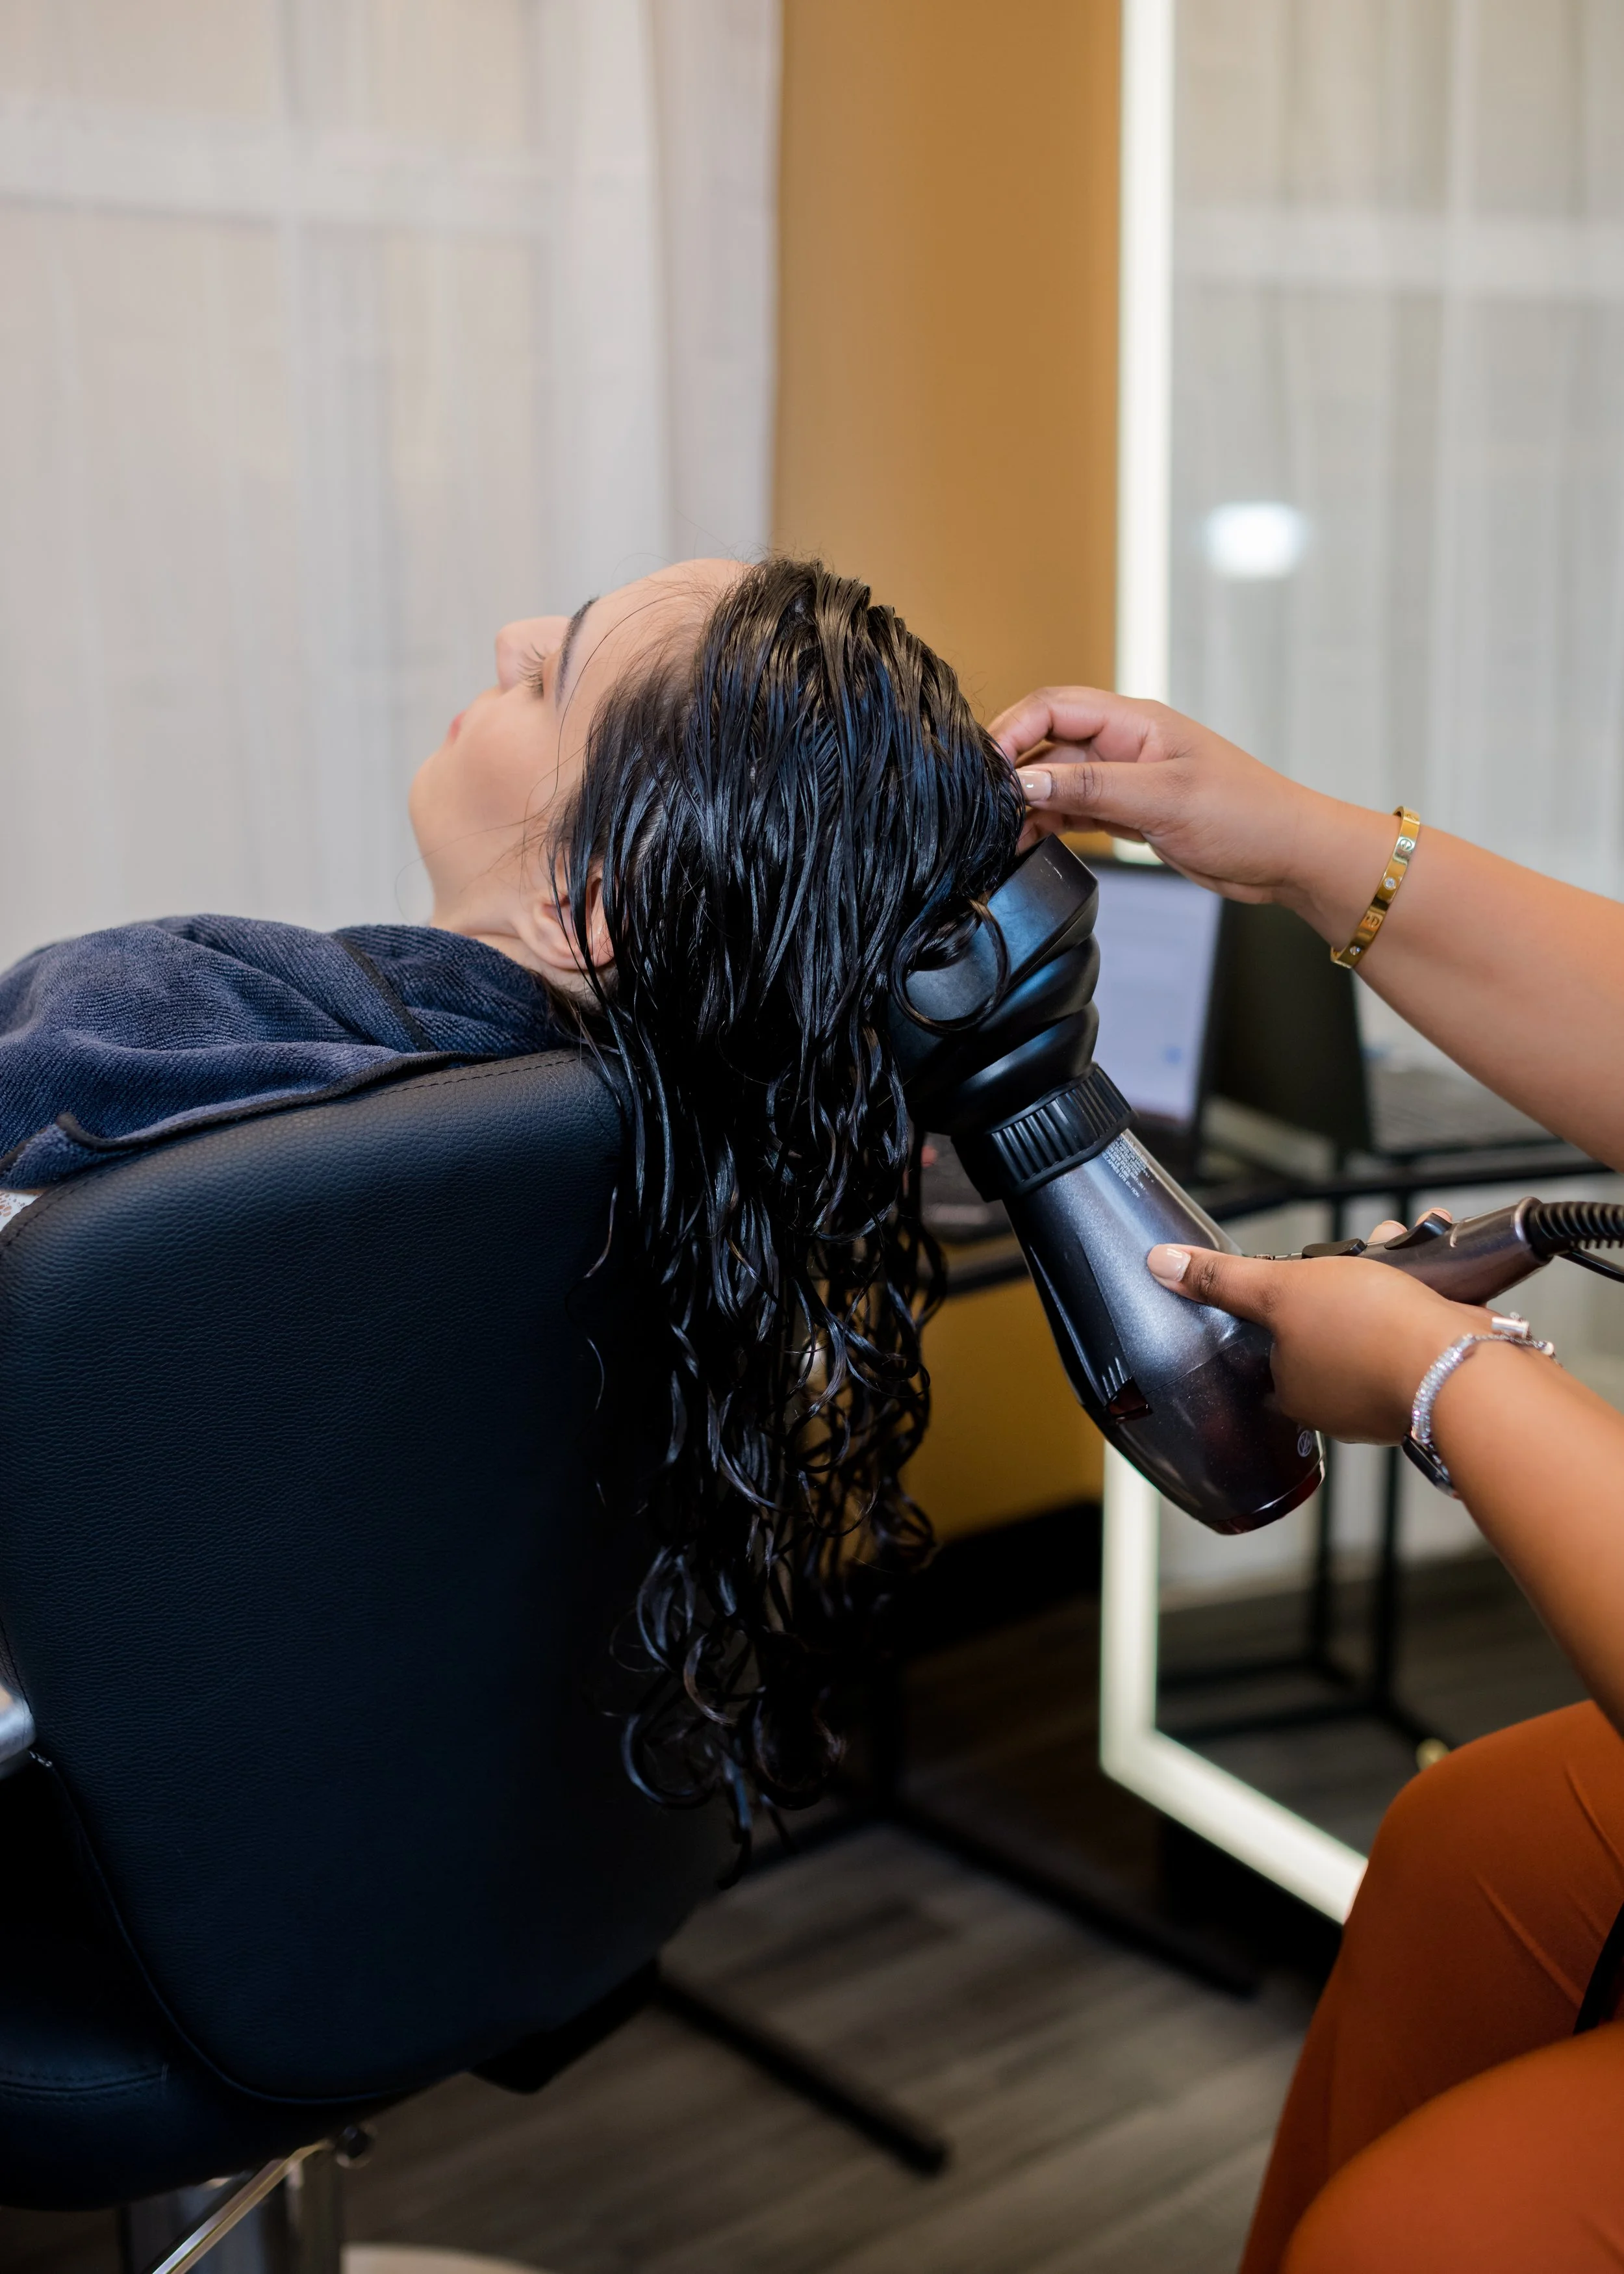
If You Have Wavy Hair or Want More Volume: Try Scrunching
Once you've hover-diffused for about 5–10 minutes, turn your dryer down to low speed. Most frizz actually comes from using the wrong speed setting, not from diffusing itself.
From there:
Gently bring the diffuser close to your hair, cupping your curls inside
Hold for a few seconds
Completely release the curls
Repeat this all over your head
Stop drying at about 80% — your temples and nape can stay slightly damp while everything else is basically dry. This prevents over-drying and keeps your curls from getting frizzy and undefined.
The Bottom Line
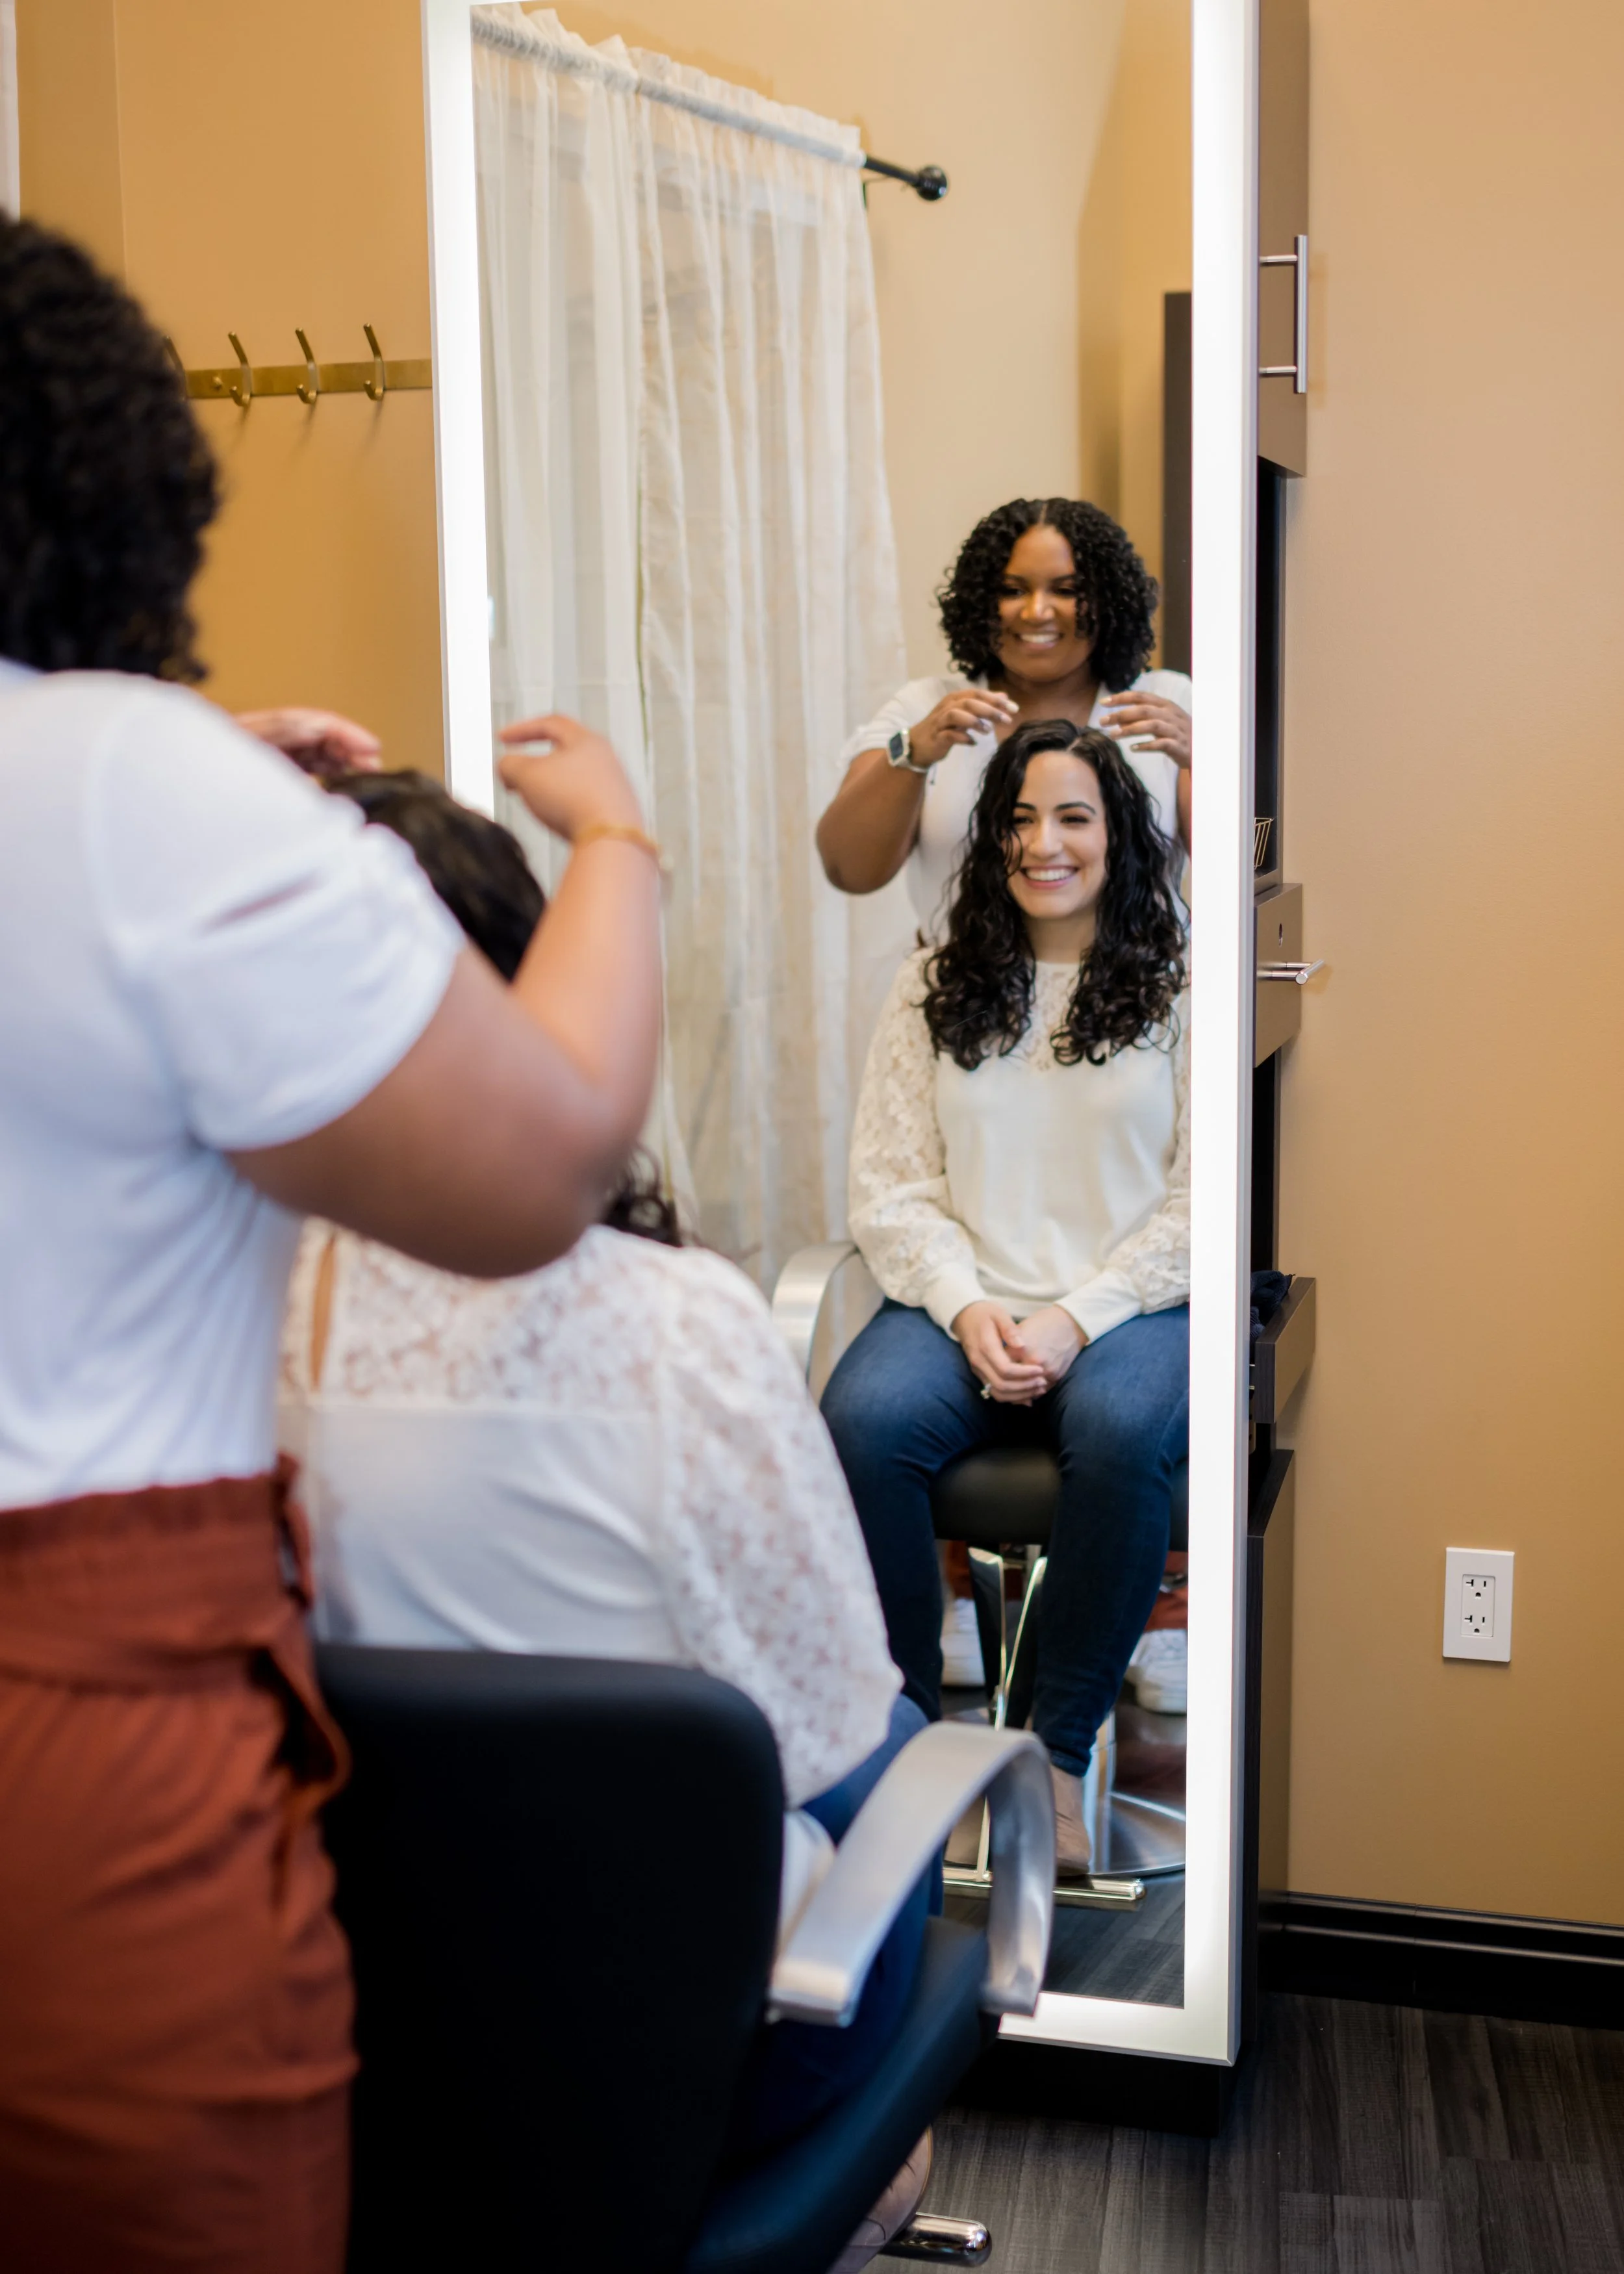
Salon curls aren't magic, and they're not something only I can create. They come down to a few consistent habits:
Using enough product to lock in moisture
Sectioning so every curl gets what it needs
Diffusing with intention — the right heat, speed, and technique
Get these three things right, and you'll start seeing the same shape, definition, and volume at home that you love leaving the salon with — every single wash day.
Need to practice some of these techniques and get feedback on how to improve? Check out the Ultimate curly cut experience where we have a hands-on styling session to master these techniques.